> For the complete documentation index, see [llms.txt](https://docs.birdie.so/birdie-docs/llms.txt). Markdown versions of documentation pages are available by appending `.md` to page URLs; this page is available as [Markdown](https://docs.birdie.so/birdie-docs/record-my-screen/recording-options.md).
# Recording Options
Customize your recording experience to capture exactly what you need
### With Logs vs Without Logs
Birdie offers two recording modes to match your use case:
Choose whether to record With Logs or Without Logs
* **With Logs**:\
This mode captures console logs, network requests, session metadata, and device metadata. \
It’s designed for internal use when reproducing errors, creating detailed bug reports, or escalating issues to developers.
* **Use case**: Share videos **with developers** to provide complete technical details, enabling faster and more effective issue resolution.
* **Without Logs**:\
It’s ideal for customer-facing situations where technical details aren’t needed.
* **Use case**: Share videos **with customers** to guide them step-by-step with clear and straightforward video instructions.
| Captured Data | With Logs | Without Logs |
| ------------------------------------------------------------------------------- | --------- | ------------ |
| **Screen Recordings** | ✅ | ✅ |
|
Session Metadata (URL, timestamp, ...)
| ✅ | ✅ |
|
Device Metadata (device, browser, OS, ...)
| ✅ | ✅ |
| **Console Logs** | ✅ | ❌ |
| **Network Request** | ✅ | ❌ |
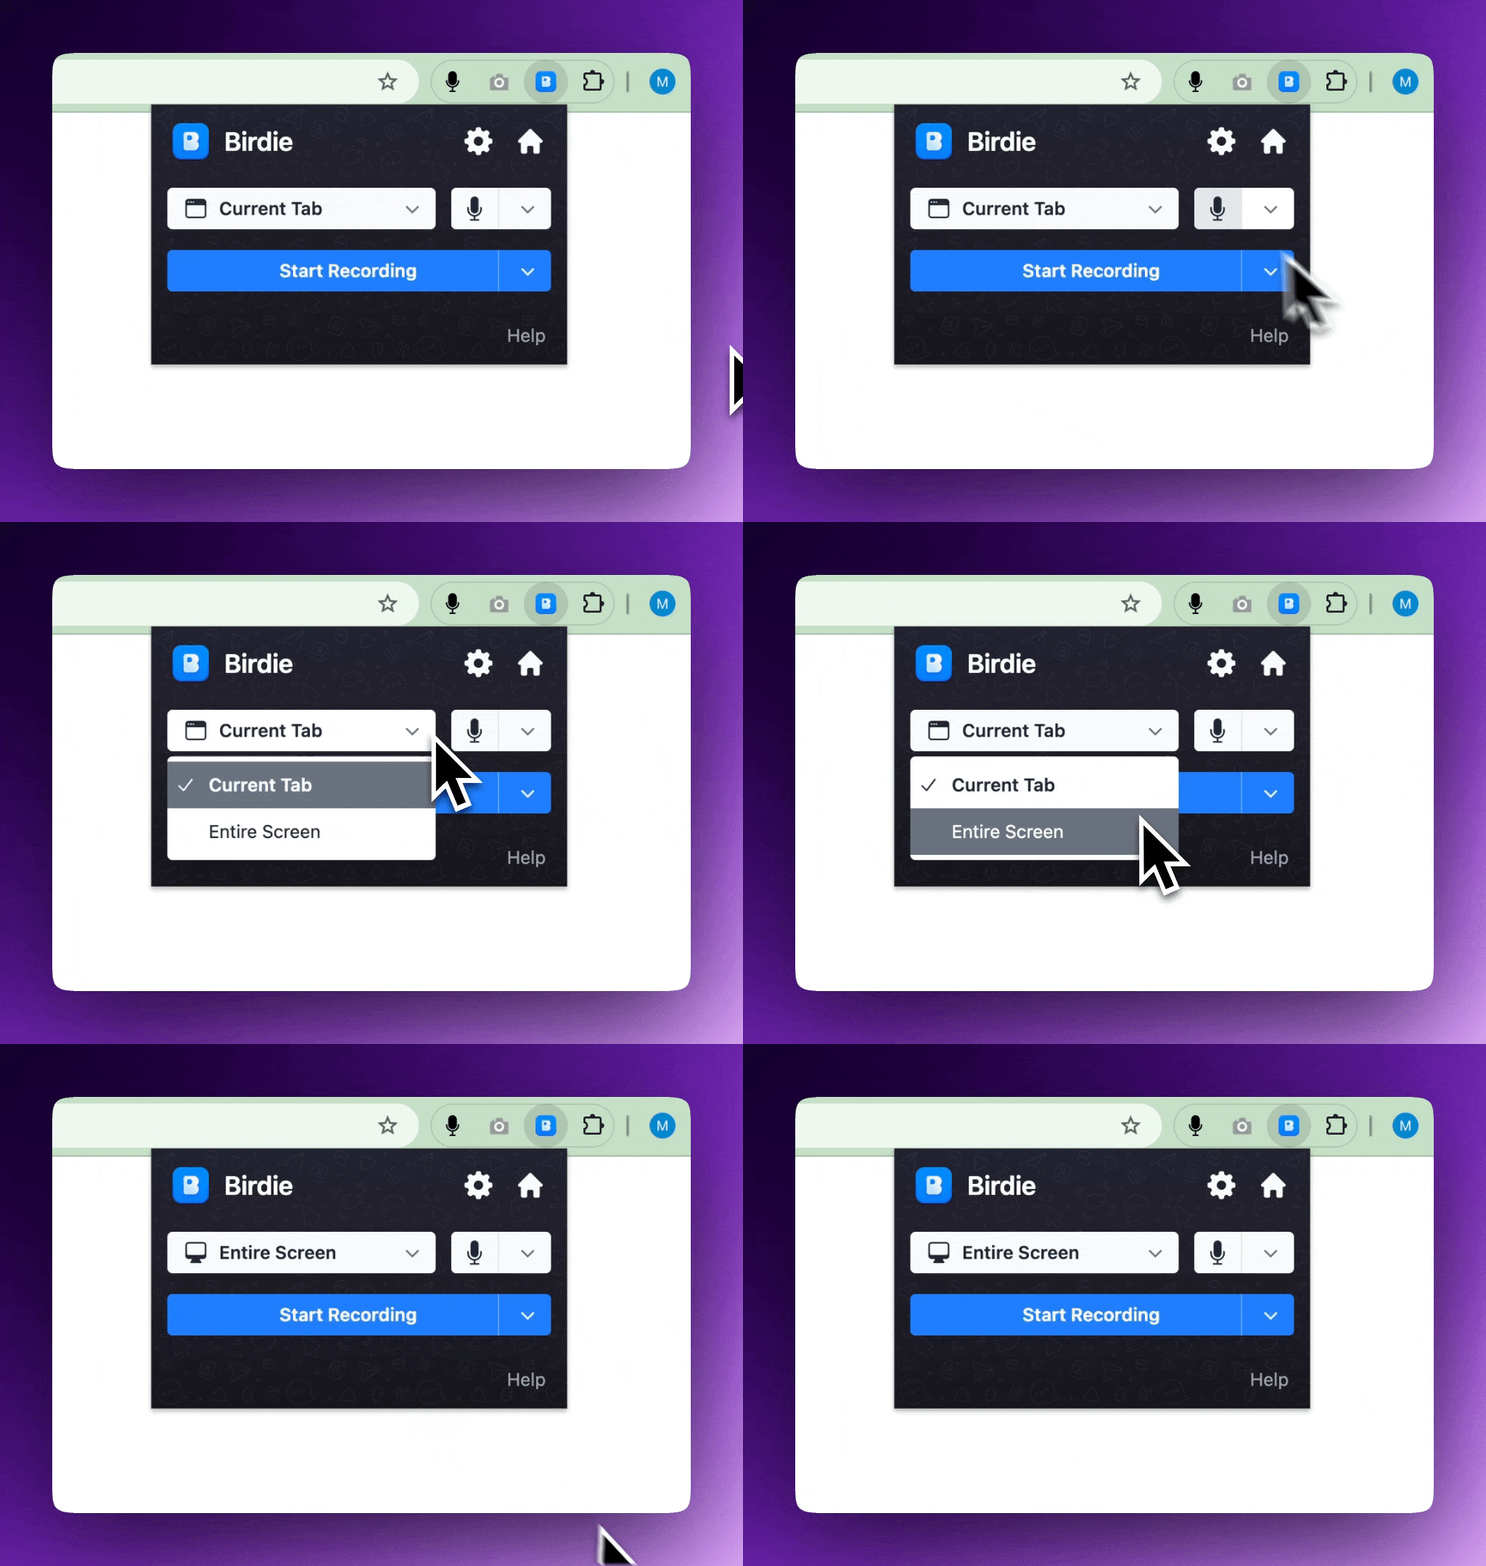
### **Entire Screen vs Current Tab**
Birdie allows you to record your screen in two formats: **Entire Screen** or **Current Tab**
Choose whether to record the Entire Screen or the Current Tab
#### **Entire Screen**
* Records everything on your screen, including other tabs, windows, and system elements (e.g., menus, notifications).
* Ideal for workflows involving multiple tabs or apps.
#### **Current Tab**
* Records only the active browser tab.
* If you switch tabs, the recording stays on the original tab.
* System elements like right-click menus are not included.
### Microphone
To include your voice in the recording, ensure your microphone is enabled:
Toggle the mic and choose your audio input source
The microphone defaults to your browser or operating system's selected input device. To choose a different microphone for Birdie, click the dropdown arrow next to the mic icon in the extension.
### Pause recording
While recording, you can pause anytime using the toolbar at the bottom center of the screen.
Click the pause button again to resume:
Pause and Resume your recording
### Restart Recording
Click the restart button on the toolbar to discard the current recording and start over immediately:
Restart your recording
### Trim Recording
After finishing your screen recording, you'll see a preview of the video. In the preview, you can easily trim the recording to remove any unnecessary parts at the beginning or end.
Once you're satisfied, click 'Save and Copy' to finalize your trimmed video.